UPDATED 7/14/04: Changes since version II: The major change is the addition of a little circuit that will keep the current to the LEDs constant no matter what the voltage is. I also made the wires more aesthetically pleasing.
PROBLEM: The BS (BackSeat) of my Hyundai Elantra GT is entirely too dark! Since the GT has a moon roof the dome light is positioned toward the front of the car. This makes seeing anything behind the front seats almost impossible as they block the light.
SOLUTION: Add two bright white LEDs to the backseat that will illuminate from above. I want this to work so that when the car doors are open the lights will turn on. The way I have these wired I’ll also have the ability to turn them on with the passenger side map light! The circuit is based on the LM317 IC which will provide a constant current to each LED. These aren’t the brightest solution, but they are small, take very little power, and I just love LEDs!!!
DISCLAIMER: This is a work in progress! I’m very reluctant to punch holes and tear apart my “new” car so I made a non-intrusive solution. When I have more time, experience, confidence, and maybe when my warranty wears out I’ll cut into the headliner.
MATERIALS:
2 – bright white 3mm LEDs
2 – LM317 IC’s
2 – 30 ohm resistors.
Misc. Wire, connectors & shrink tubing.
Schematic:
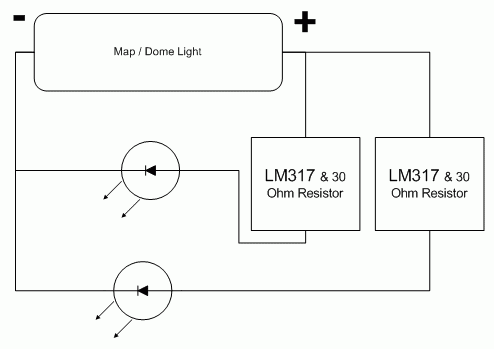
LM317: So, why use this little circuit? The reason is because LEDs are more sensitive to changes in voltage than the incandescent bulbs in your car. A car’s voltage can go from 11 volts while the car is off and has been sitting, to 14.5 volts while the alternator is working hard causing more current to be pushed through the LED. These little LEDs ideal current is about 30 milli amps, and the LM317 circuit keeps it set at whatever value you choose. The first few times I put LEDs in my car they were too dim when the car was off, but too bright (and hot) while the car was on. Now I’ve got them set to run at 40 mA (a little high… called overdriving LEDs) no more, no less, even if the voltage is 11 or 15 volts!
First step was to remove the light assembly. This was much easier than I thought it would be. I simply removed the light cover and then removed the two brass screws holding the assembly in place.
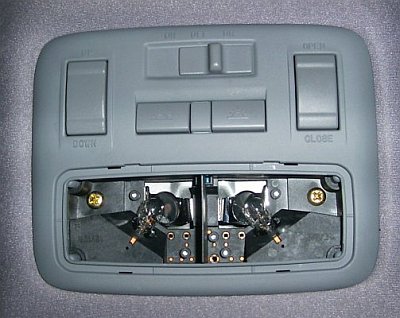 Here it is removed:
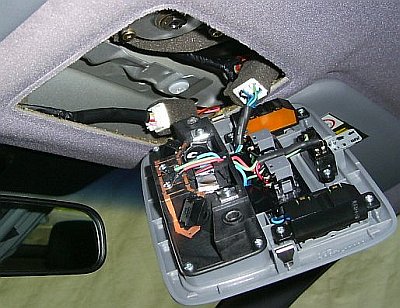 Next I found some connectors that matched those going to the passenger side light and soldered them to a PC “turbo” light connector.
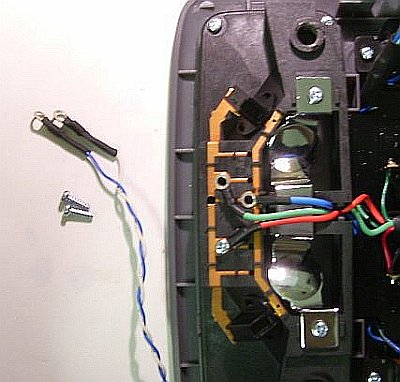 Here they are screwed into place.
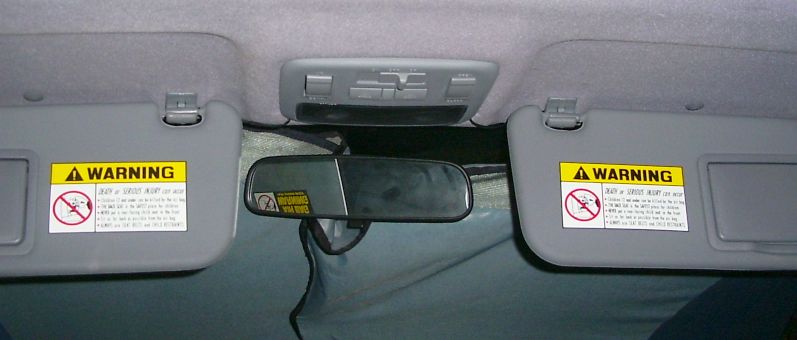
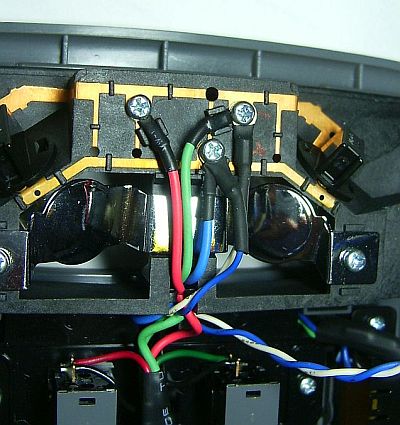 Remember, I’m not bold enough yet to go into the headliner, so I’m running the wires from the back of the dome / map light across the front of the headliner, then into the plastic liners and weather stripping. It’s amazing all the little places you can hide these tiny wires.Here are the wires from the dome light. I unscrewed the visor clip and slid the wires underneath to help hold them in place.
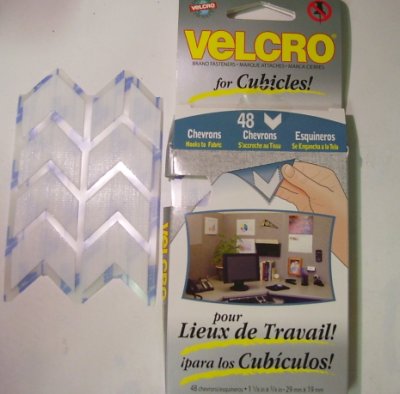
 This is the “cubicle velcro” I used to get the LEDs to stick. After buying them I wanted to check that they would stick to my headliner fabric, well, they stuck so well it pulled the pieces of velcro right off the wax paper backing! This stuff is great! (UPDATE: While it works great, the sticky material on the back melts when it gets too hot in the car making a bit of a mess. I solved this below).
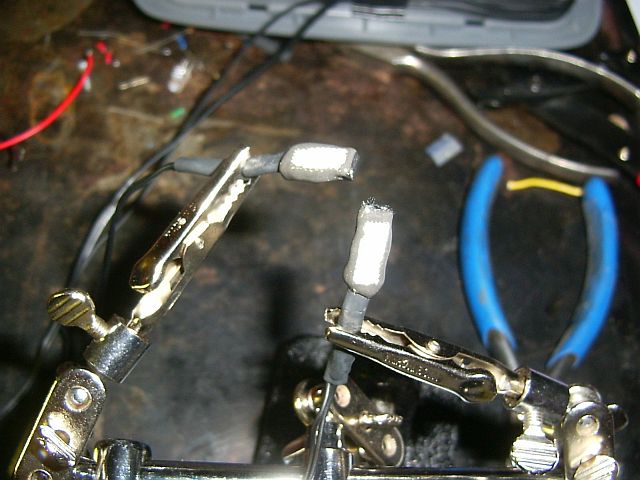
I used two old computer connectors to allow me to hot-swap the LEDs to change colors, sizes, etc. These connectors are not necessary, you can solder directly to the LEDs if you like. I stuck the velcro on the connectors and then epoxied the edges with 4 minute JB weld. This will keep the velcro backing from melting away.
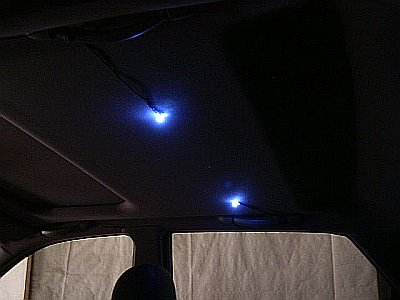
Here are the lights in action. With the velcro I can re-position the lights anywhere I like!
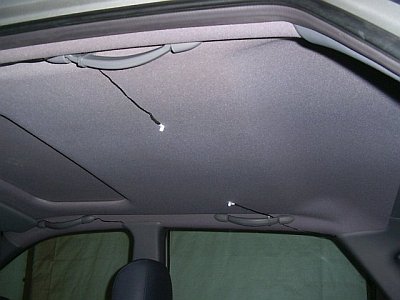
Another shot to show the placement of the wires:
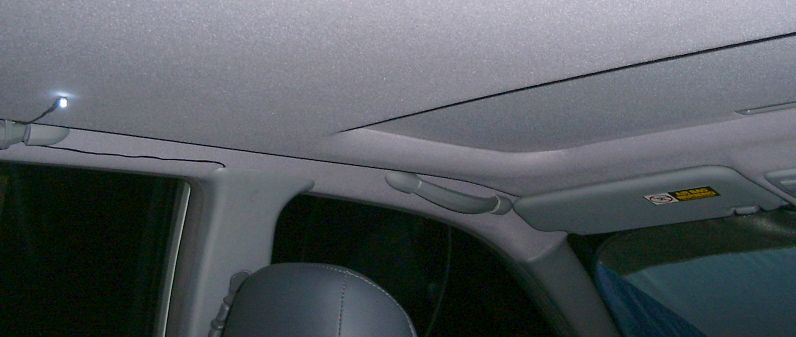
Here they are with the flash off… pretty cool, and they give off just enough light to see and to read by! My wife loves them because she can position them in different places to read, or move them out of the way so they don’t shine on the baby!

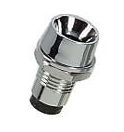
This would be a killer project if I simply pulled the wires and drilled holes into the headliner. Use your imagination of what could be done, for example when I finally do it the right way I’ll use LED holders something like this:
If you’re so inclined, check out the first version of the backseat LED Mod here.
hi,
great info,
I own a Hyundai Santro in India, and its hell Dark on back seat, and even the leg room, Iam going to test the circuit you have suggested, Iam looking for connecting 10 L.E.D. on Each Door, and around 20 below the Dashboard.
Please share if you have any circuit to have L.E.D. survive the 12volt suppluy.
I use the following circuit for many of my LED projects where I need to have an exact voltage:
http://www.nifty-stuff.com/constant-current-led.php
That said, the LM317 circuit mentioned above also works great for limiting the current.